How to render Jupyter Notebooks on Gitea

This guide will show you how to configure an external renderer to display Jupyter Notebooks. However this guide will also work for other types of files and even binary files! The sky is the limit.
How Gitea displays .ipynb files natively
Lets create a new repository on our Gitea instance and push an example notebook to it:
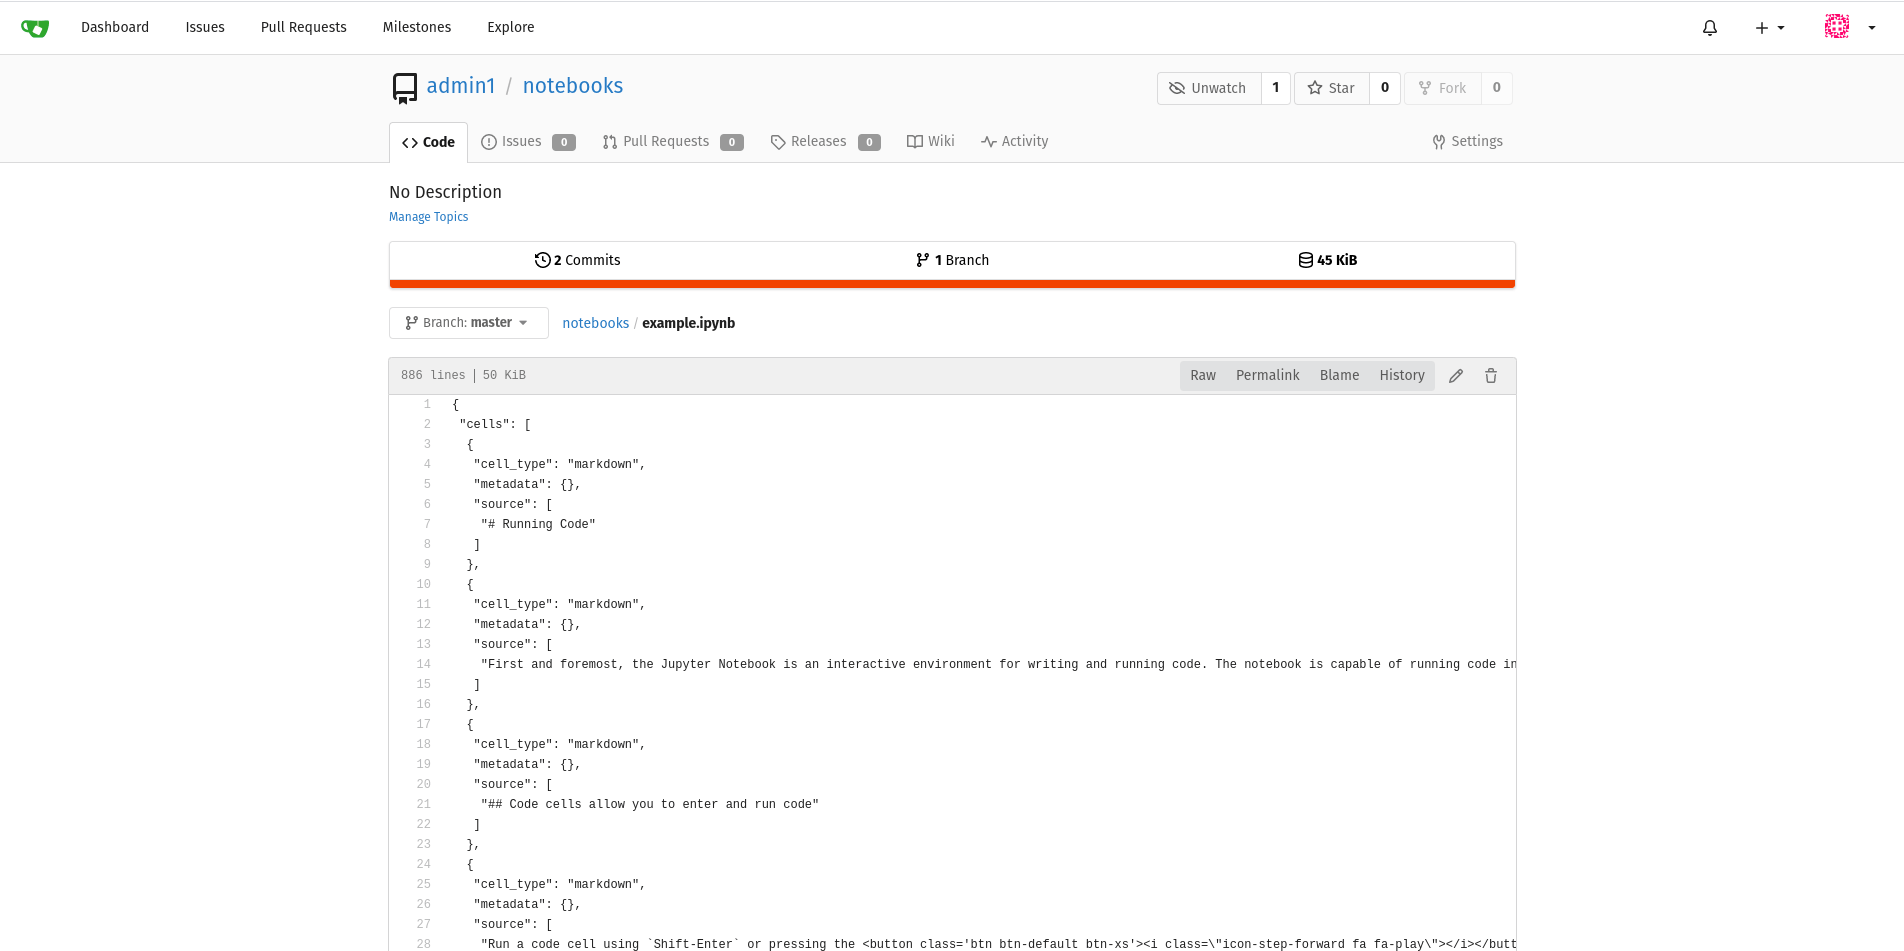
So as we can see Gitea just renders the raw content of the file - efficient but hard to read.
How to generate HTML to display
In order to display something more attractive to the user we need some HTML, luckily Jupyter has a module called nbconvert:
Install our converter software of choice on the Gitea machine:
sudo apt install python3-pip
pip3 install nbconvert
If we wanted we could test this by running a test command:
jupyter nbconvert --to html --template full path/to/some/test/notebook.ipynb
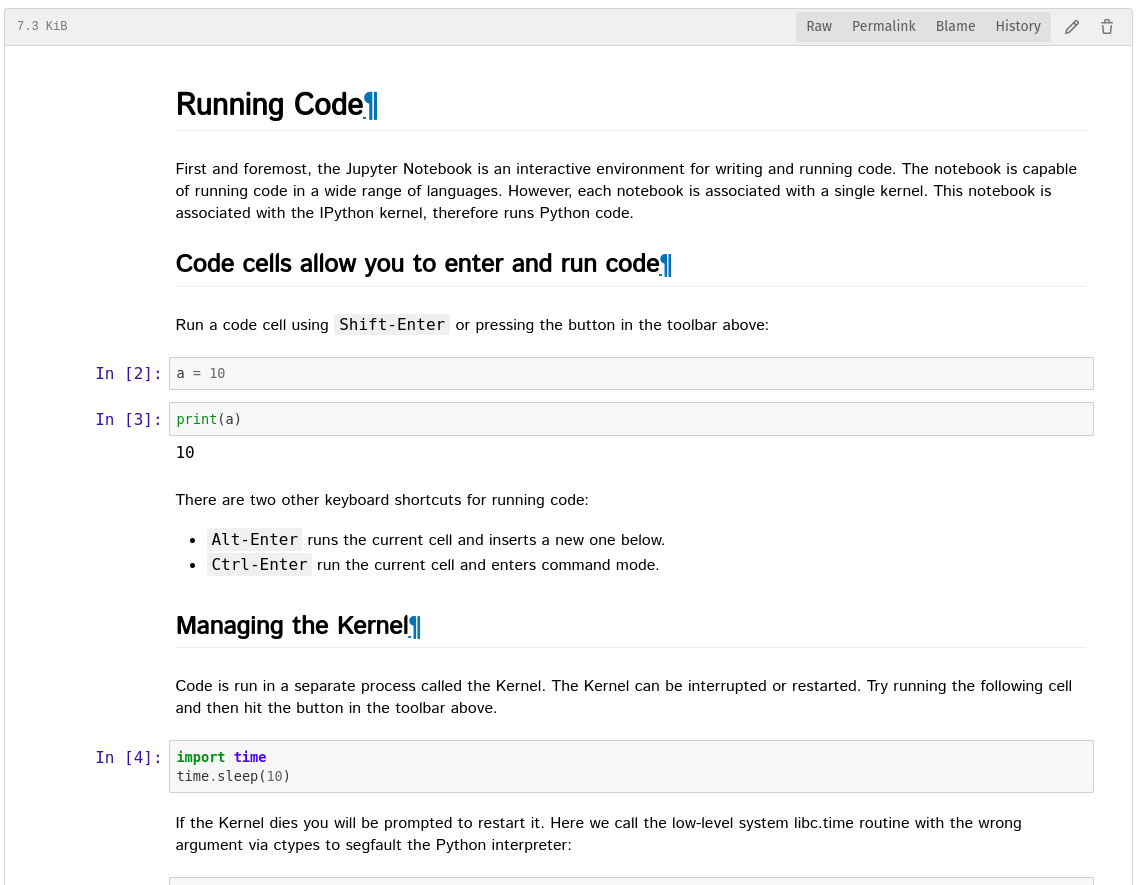
If we open the resulting .html file in a browser we get something that looks like:
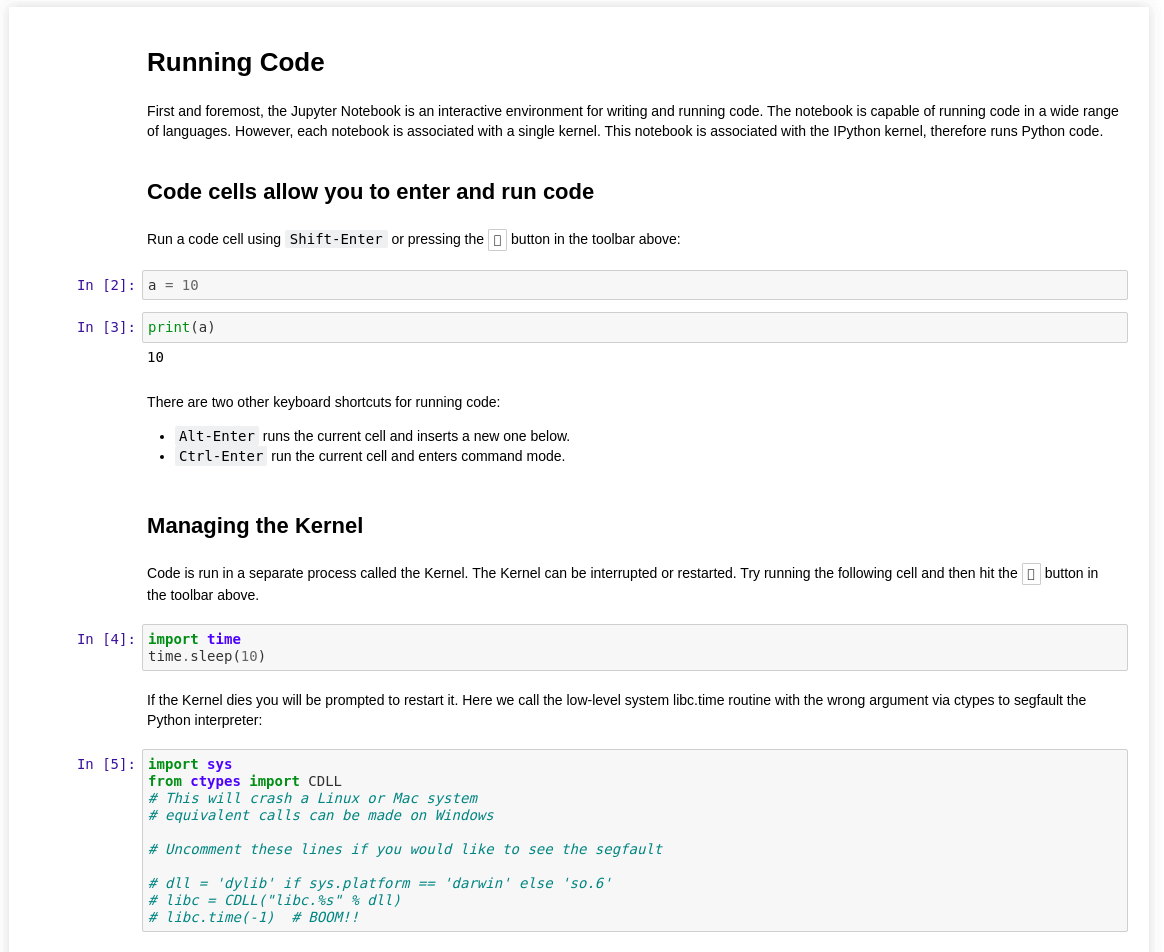
This looks promising....
Configuring Gitea to use the converter
Like most options, we can configure the Gitea instance using only app.ini.
add this it custom/conf/app.ini:
; Gitea looks for markup.xxxxx and will apply both "markup" and "xxxxx" as a class to the parent <div>
[markup.jupyter]
ENABLED = true
; all the file extensions we want to convert, comma separated.
FILE_EXTENSIONS = .ipynb
; Lets use out nbconvert command from earlier - making to sure to convert to HTML and to output to stdout
RENDER_COMMAND = "jupyter nbconvert --stdout --to html --template full "
; nbconvert accepts a path to a file and not stdin
IS_INPUT_FILE = true

; the name after sanitizer doesn't really matter
[markup.sanitizer.jupyter0]
; Jupyter chiefly uses divs
ELEMENT = div
; we will need access to html classes later
ALLOW_ATTR = class
; we don't mind which classes we keep, so let's keep all of them
REGEXP =
Now lets see what we get when we restart Gitea.
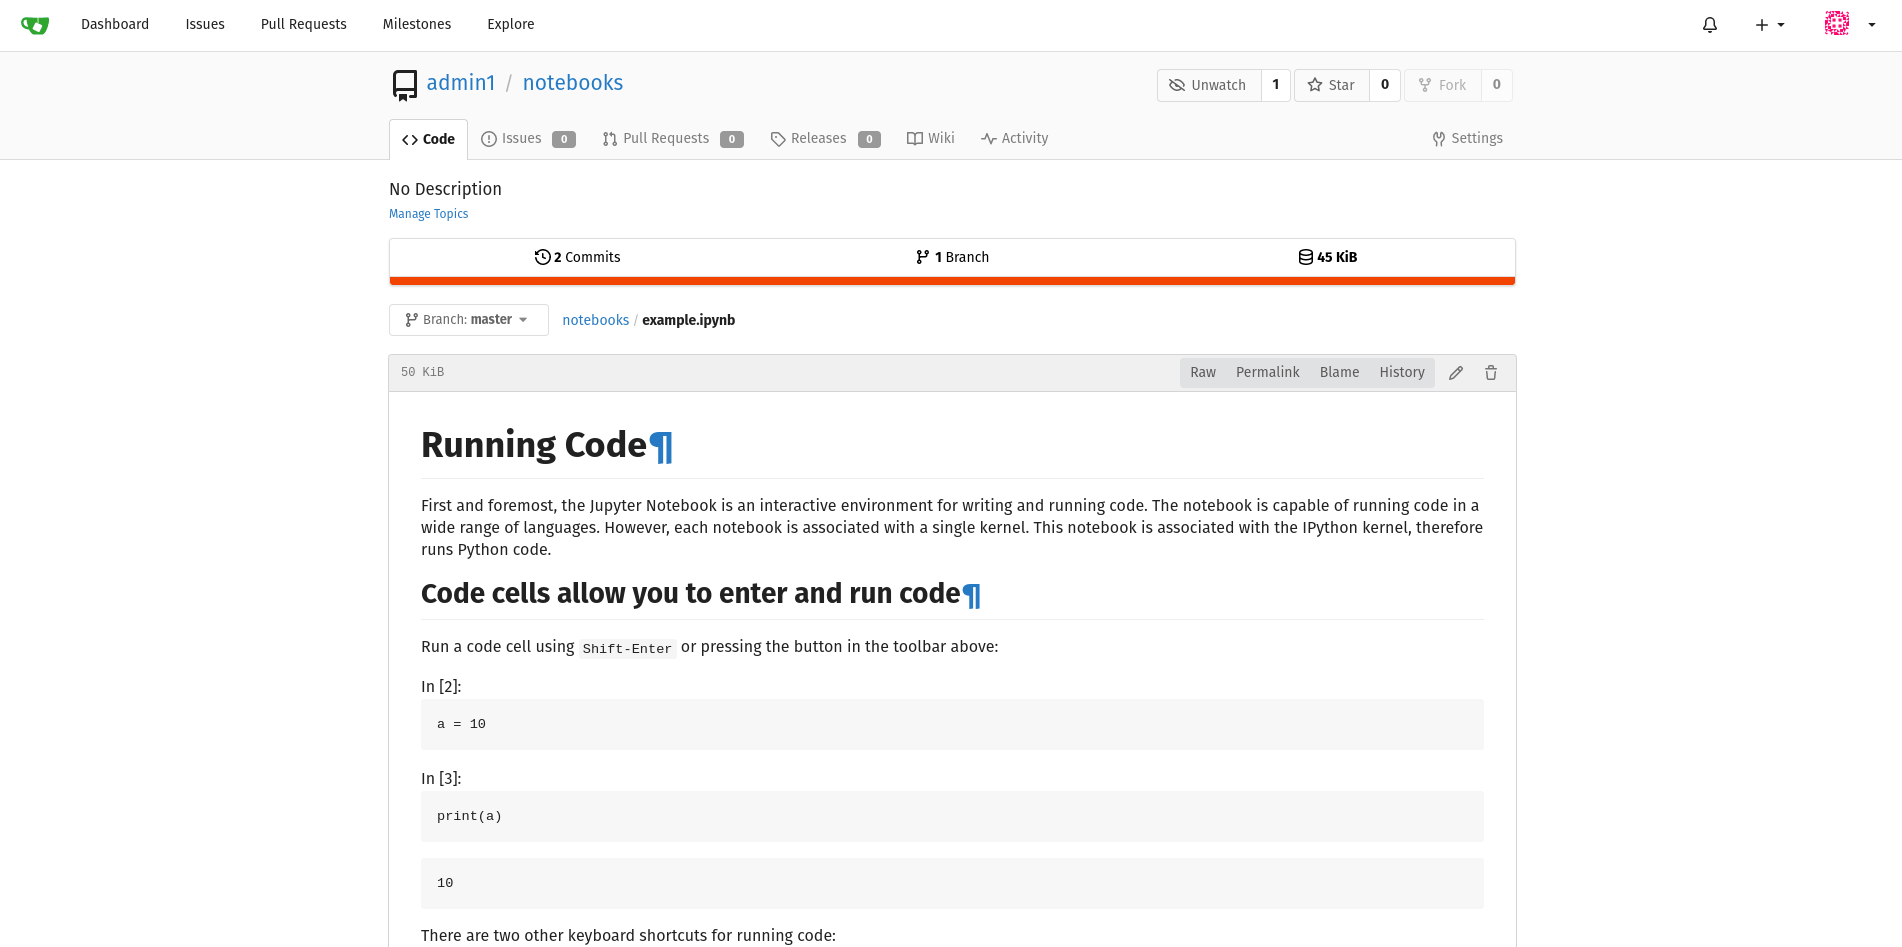
As you can see this is better, but not the same as when we opened our HTML file earlier. This is becasue Gitea removes the inline style sheets for security needs. What styling there is is inherited from the markup class in the <div> that wraps the code.
Getting back our styling
If we look at the contents of the HTML file we created earlier we can see several inline stylesheets
<style type="text/css">
    /*!
*
* Twitter Bootstrap
*
*/
/*!
 * Bootstrap v3.3.7 (http://getbootstrap.com)
 * Copyright 2011-2016 Twitter, Inc.
 * Licensed under MIT (https://github.com/twbs/bootstrap/blob/master/LICENSE)
 */
/*! normalize.css v3.0.3 | MIT License | github.com/necolas/normalize.css */
html {
  font-family: sans-serif;
  -ms-text-size-adjust: 100%;
  -webkit-text-size-adjust: 100%;
}
body {
  margin: 0;
}

[...]

  </stlye>
So lets strip out all of style sheets and combine them into one jupyter.less making sure to delete all the HTML tags like <style></style>. We now have a stylesheet that contains all our beautiful styling. However it has lots of generic selectors like:
body {
  margin: 0;
}
This is certainly going to conflict with the default styling of Gitea. So we need to make sure that we limit the scope of the styling. Luckily, Gitea and less can help us with that.
In less
.someclass {
  body {
    margin: 0;
  }
  summary {
    display: block;
  }
}
Is equivalent to the css:
.someclass body {
	margin: 0;
}

.someclass summary {
	display: block;
}
And Gitea has given the classes markup and jupyter from app.ini to the <div> that surrounds the code.

So lets wrap the whole contents of jupyter.less in .markup.jupyter {} to generate something that looks like this.
Now lets put that file in our 'custom' directory , in my case that is /root/custom/public/css/jupyter.less.
I then added to /root/custom/templates/header.tmpl
<!-- lets import the less stylesheet {{AppSubUrl}} is a variable that gitea will autofill -->
<link rel="stylesheet/less" type="text/css" href="{{AppSubUrl}}/css/jupyter.less" />
<!-- we need the javascript to compile the less into css -->
<script src="//cdn.jsdelivr.net/npm/less" ></script>
And now lets restart gitea and see what we get.
Final appearance with the .markup.jupyer custom styling
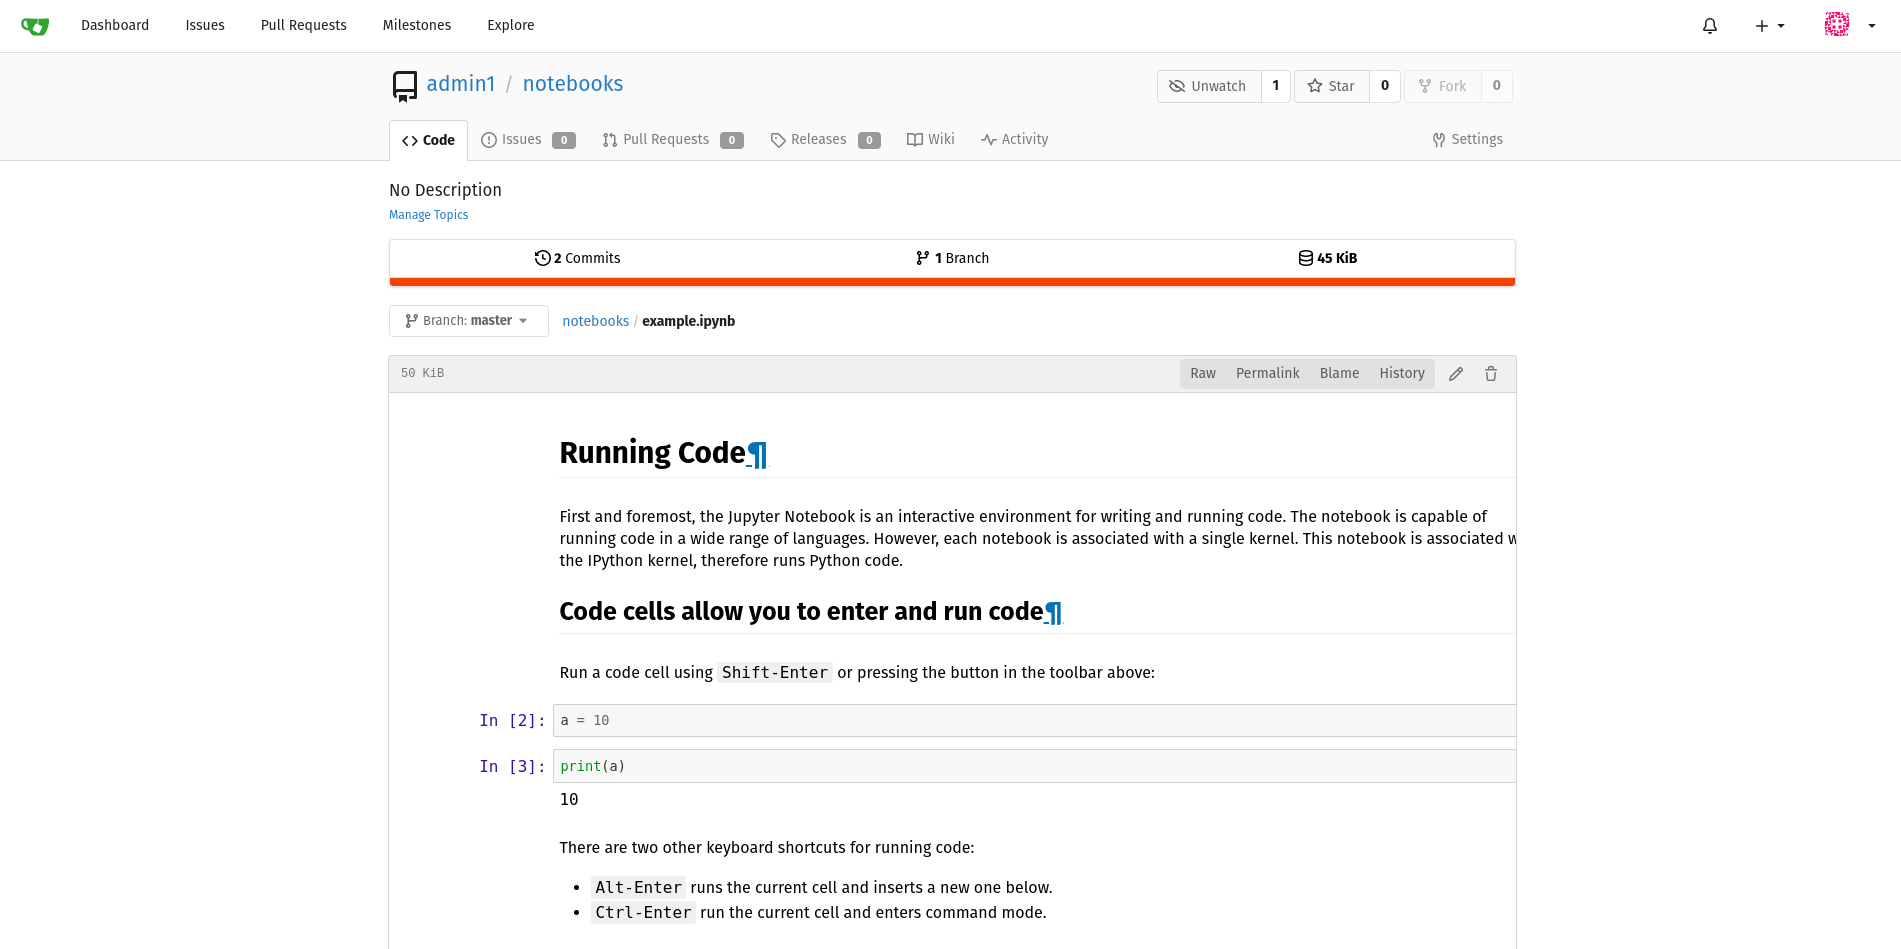
Looks good but we are getting some problems with text over-flowing the edge of the border. This is caused by some pesky CSS at-rules, so lets delete the below from the jupyter.less
@media (min-width: 768px) {
  .container {
    width: 768px;
  }
}
@media (min-width: 992px) {
  .container {
    width: 940px;
  }
}
@media (min-width: 1200px) {
  .container {
    width: 1140px;
  }
}
Ta-da! Perfectly styled Jupyter Notebooks.